 Successfully developing anti-viruses for more than two decades now, Panda Antivirus is probably the most reliable and trustworthy internet security applications. With the launch of Panda Antivirus Pro 2016, the company has decided to create a huge buzz in the market because of the innovative features that this version is offering. Equipped with improved protection techniques and revamped features, it’s obvious that you are going to opt for panda antivirus services. So, if you want to know the pros and cons of Panda Antivirus Pro 2016, make sure that you go through this blog.
Protection: Since the product is all about protecting your system from all types of viruses and Trojans, it becomes necessary for us to discuss this point with others. As Panda is ensuring users with cloud technology for protecting their systems, users can be assured of the fact that their devices are completely protected from all types of viruses, Trojans, and other malware activities. With the availability of Firewall, your devices are safe even while you are connected to the wireless network or while browsing the network. Scanning and updates: Unlike other anti-viruses, Panda Antivirus Pro 2016 provides you with options to scan before loading any particular website or documents. Also, one of the most significant advantages that you will get is the option to choose between quick and full scan. So, if you don’t want to waste so much of time, you can go for a quick scan and vice versa. Additional Features: To beat their competitors from the scratch, Panda has decided to come up with some additional and unique features. And, to be honest, all the features are impressive. Some of them are enlisted below, take a quick look.
As there are some flaws in almost every device and products in the world, you can still avoid them if you are benefited comparatively more. And, same is the case with Panda Antivirus Pro 2016. So, if you take our suggestion, it’s a good choice to go for it so that your system is protected and safe. However, if you face a few glitches like you are unable to handle the safe browsing mode or something related to it, you can anytime get in touch with experts on panda customer service number. In case, you don’t have their number, you should visit the official site for Contactforhelp, which is an online directory that offers reliable numbers for similar services.  Gateway laptop's BIOS (Basic Input/ Output System) specializes in controlling the system before Window starts loading. During the loading duration, the BIOS functions a smoother transition into Windows. By executing the recent version of Gateway's BIOS firmware you ensure the Windows loading process doesn't get affected. The official Gateway laptop website includes the BIOS firmware for download. Once you install the latest firmware, the Gateway's BIOS will be updated. For assistance regarding any PC related problems, interested users can contact Gateway laptop support. The reliable service center provides quick help to resolve all kinds of common and critical laptop/PC errors.
Steps to Update the Gateway laptop BIOS Step 1: Open Internet Explorer and enter the official page for Gateway "Drivers and Downloads". Step 2: Click "Select Your Product Type" and choose your Gateway laptop model. Step 3: Click " Display Results" link appearing in blue. Also, verify the selected Gateway model before moving ahead. Step 4: Locate "BIOS Downloads" and click the blue link below BIOS Downloads with the heading as "BIOS Firmware Filename". Step 5: Click "Download Now" and the firmware will start downloading. Step 6: Choose "Desktop" as the location to save file. The file will have "exe" extension with a series of string numbers. Step 7: Now, click the BIOS file saved on your PC. Click "NEXT" to start installation of the latest BIOS firmware on Gateway PC. Finally, click "OK" and restart the PC. BIOS plays a vital role in maintaining the overall performance of the PC. It prevents your laptop from risks and threats that usually occur during start-up process, when Windows start loading. For best results, every laptop owner must stay focused to download/install latest BIOS updates. The above stated steps about how to update Gateway laptop BIOS are helpful in updating the system performance. If you are confused with the process, then contact Gateway support number. The team of skilled engineers offers result-oriented solutions over the smooth telephonic conversation. Search for toll-free alternative customer service number in the ContactForHelp web-directory.  Download the drivers directly from the official website of Dell. This is the safest process to update the existing device drivers for Windows 10 PC. By visiting the official website, you receive the latest drivers safely on your device. Here's a brief overview about how to automatically download/update Dell drivers directly from the Dell website. For assistance,dial Dell support phone number, as the professionals are available 24hrs to help the troubled laptop owners.
Dell system detect: Dell stocks a wide list of tools for computer users. It includes the Dell Support Center software to help you manage the Dell process function smoothly. Dell automates the complete process, as far the identification of the drivers is concerned. It detects the model, manufacturing details and components. Visit the Dell website and install "Dell System Detect" for complete device inspection. Now, enter the service tag on the Dell website. The "Service Tag" option appears at the bottom of the laptop, browse the specific product or auto-detect the product by installing the "Dell System Detect". Press the "Detect Product" button for installing the Dell System Detect.Once the scan process completes, it will identify the device and offer several options. Click "Detect Drivers" button, which will allow Dell to scan the PC and install "Dell Update Application". Dell update is an advanced tool that automatically updates serious troubleshoot and essential device drivers when available for use. Interested users can directly download the update tool from Dell's official website. It includes all drivers required for optimum PC performance. With the help of update tool, you can keep your system upgraded without checking online updates and install them manually. The tool precisely scans the computer/laptop and offers a stock of drivers for which latest updates are available. Now, browse the list and select the drivers you wish to install. Start using the Dell update utility to keep using device without any technical errors for long years. Dial Dell laptop customer service number and take professional assistance for all your problems. The certified technicians will guide you with the exact process to download/install Dell tools and drivers. 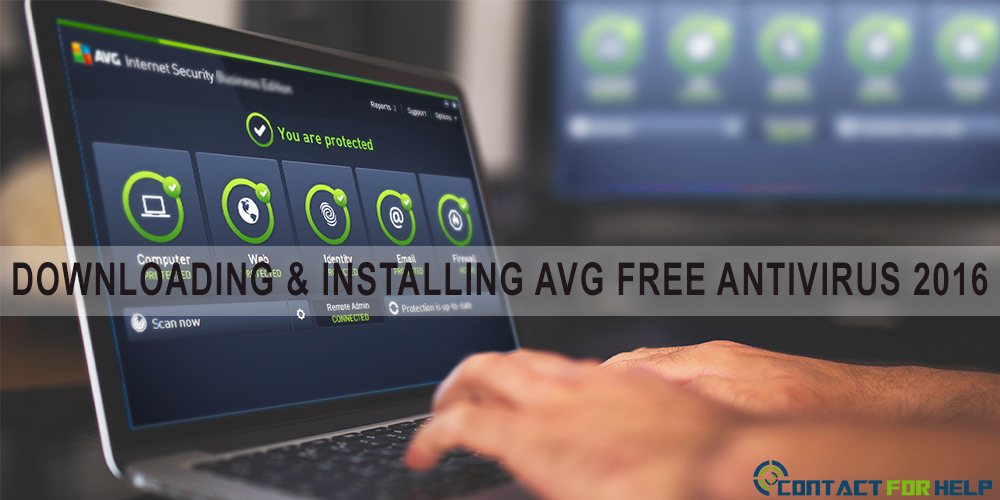 Considered as one of the most reliable antivirus's, AVG is not only an award-winning brand but also is the best free antivirus software. Since it offers complete security to your devices from all types of virus, Trojans, and other malware activities, this software is now actively used by more than 200 million users all across the globe. One of the best advantages of using AVG over any other antivirus brand is that even the free version of it is as efficient as the paid one. So, if you also want to give it a try by downloading and installing AVG Free Antivirus 2016, it’s advisable for you to connect with AVG customer service. Also, you can do it by yourself if you can follow the given steps.
Step 1: At first, you are supposed to visit the official site of AVG Free Antivirus, followed by clicking on the download button. Step 2: Just after you have clicked on it, you will noticing a new dialogue box appearing in front of your screen, where you will be prompted for FREE Download under AVG protection. You are supposed to click on it. Step 3: Now, you need to wait for next few seconds, and you see a new pop-up window displaying on-screen and prompting for saving the file. So, make sure that you have saved that exec file on your desktop. Step 4: Once done, you are again required to double click on the Exe file that you have saved on the desktop, and then continue to wait for next few seconds again for the AVG installer Step 5: Users are also provided with an option, where they can select language according to your personal choice and preference. Also, you need to use default language as English, followed by clicking on the “Next” button Step 6: In the next step, make sure that you have read End User Software License Agreement, followed by clicking on the option that prompts “Accept” for continuing the process successfully. Step 7: Make sure that you have selected the basic protection because it can be availed at free of cost. Also, if you are willing to uninstall full protection, you can surely buy it after clicking on the button that says “Next.” Step 8: As you are moving ahead with the process, you will now be asked for the license key. In case, you don’t have the license for it; you are required to enter an email address, and AVG will send a free license key. So, make sure that you have correctly entered the license key so that you can successfully proceed further. Step 9: Next, you must also make sure that you have selected the “Express” option, followed by clicking on the “Next” button. Step 10: You need to wait for a while, and then you will receive a new message that says “Your software has been successfully installed.” Step 11: In the ends, don’t forget to click on the “Finish” button to complete the process. Undoubtedly the process is not that tough; you can easily implement it to download and install the AVG Free Antivirus. However, if you face any difficulty in following it, make sure that you have taken immediate help from experts on AVG customer service number. But, in case, you don’t have their number, make sure that you have availed it from the official site of Contactforhelp, which is an online directory that offers reliable numbers of similar services.  Today internet connection offers fast browsing and high download speed. Moreover, sometimes users download and browse data at an exceptionally high speed. Usually, all major ISPs place bandwidth limits on business and the consumer.The ISP may charge extra if you exceed the data download limit. However, with the help of Linksys router, you can control the data downloads by restricting the bandwidth usage of the network computer. Here are three important factors to consider while restricting bandwidth in a Linksys wireless router. These points have been discussed precisely by Linksys customer support experts, so get the complete overview of the big discussion here.
QoS Basics The Quality of service in computer networking indicates to the methods and processes utilized to ensure high performance for priority apps. Linksys wireless routers includes QoS settings to allow the admin to manage certain apps and bandwidth of PC or devices. The QoS settings allow the admin to limit the bandwidth of certain apps and workstations. You find the QoS settings in the router's setup page. Linksys Web Interface All the important configuration settings of Linksys router appear on the web-based setup page; you can log-in the device from the browser application. To enter the web-based setup page, type "192.168.1.1" into the address bar and press ENTER key. Once the router configuration page opens, simply type your correct username and password to log-in. If you have not updated the password for Linksys router, then leave the username blank and enter "admin" as the password. Ways to limit bandwidth Click applications, after successfully log-in into the Linksys router configuration panel. It will display the QoS sub-tab, here you can set device priorities as per the parameters of the Media Access Control address. In case, all the connected computers linked with Linksys router have the wireless capability; then you can easily set device priority on MAC address instead of the Ethernet port as the Ethernet ports require cables. To find the MAC address for each computer, you need to open a command prompt window, and type "config/all." To open the "Command Prompt Window" enter the start menu and click run by typing "CMD". Now, determine the MAC address for wireless computers on the network and set their access priority to "High" or "Low." Moreover, you can even set access priority by using the application. Apart from making settings for Linksys router's bandwidth priorities, you can even deny access to several websites. The Linksys wireless router allows blocking the similar websites. To block website access, just choose the MAC address for PC you wish to block and enter the name of the site you wish to block. Contact the Linksys router customer support, if you need any specific help to restrict the bandwidth in a Linksys wireless router. The expert technicians will guide you through every basic step that makes you feel confused. To avoid contacting the fraud support centers, visit ContactForHelp and find verified helpline numbers. |
 RSS Feed
