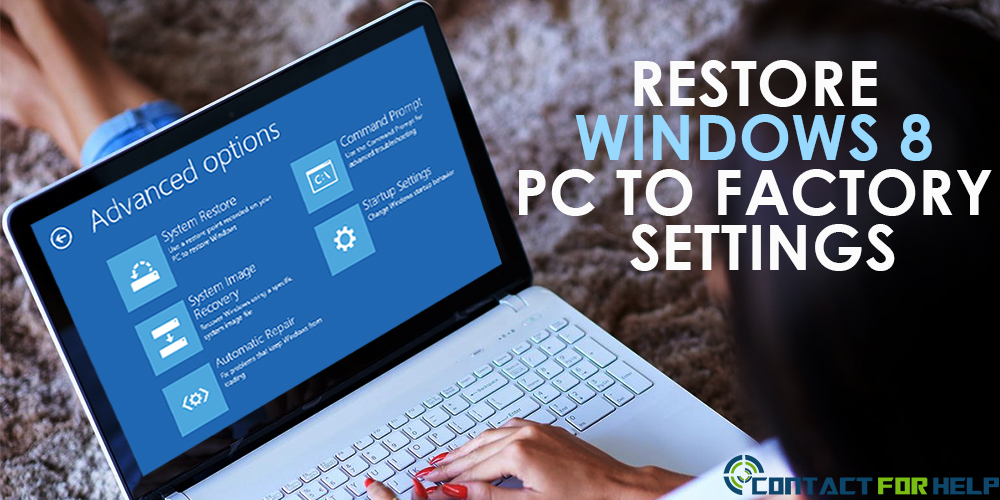
 Idea to restore Windows 8 PC comes in mind, when you plan to sell your laptop and delete all data or you wish to free up space to increase storage. Windows 8, 8.1 and Windows 10 include advanced features to create backup and restore Windows for better optimization. Every time you restore Windows 8, you can increase the performance of your PC with latest update. Follow the steps shared by Windows 8 customer service executives to restore factory settings.
Steps to Restore Windows 8 PC to factory Settings Step 1: Click "Start Button" and type "Remove". If you are using Windows 8.1, you will find the option to "Remove Everything and Reinstall Windows" on the top. Whereas, Windows 8 users have to click settings on the right side and choose the reinstall option. To browse this location on the Charms Menu, press Windows + C and click settings for configuration. Step 2: On the left hand side of the screen, click General Section. Now click the "Remove Everything and Reinstall Windows" option appearing on the right hand side. Next, click "Get Started" to start the process. Step 3: Create a backup data file, before the Windows will delete all applications and personal files. During this process, you will be prompted to insert Windows installation disk. Step 4: In case, you have multiple hard disks in your PC, then you will be prompted to wipe "All the drives" or "Just the drive where Windows is installed," choose any one option. Step 5: Select any one option "Remove all files" or "Clean the drive completely." Select 1st option, if you are starting from the beginning or go with the 2nd option, which will completely remove your data. Step 6: Click the confirm option, to agree with the reset process. Step 7: Plug-in your laptop to start the reset process, as it won't start without plugging the laptop. Once restored your PC will operate effectively, update Windows 10, download drivers and favorite apps, and enjoy the hybrid experience of browsing the Internet. For latest updates or to seek assistance related to technical errors, dial the Windows 8 support phone number. The 24x7 helpline contacts are listed at ContactForHelp, the USA’s leading web directory. Source: http://bit.ly/2aiSWLI  Sony VAIO includes pre-installed graphics card drivers. You wish to upgrade the drivers to remain up to date with the advanced gaming technology and apps. You can easily download the latest drivers from the official Sony VAIO website. On a monthly basis, the official Sony website features new driver updates, which ultimately improve the performance of your Sony VAIO. For specific driver info, dial the Sony phone number. The technical helpline remains available 24hrs to assist the premium owners of Sony devices.
Graphic card options help you to experience rich media with high video quality resolution. The trending PC games such as Call of Duty Modern Warfare and 3d movies require updated graphic card. You will see “System Not Compatible” error, when the media needs updated driver. In such case, immediately follow the steps briefed below: Steps to update Sony VAIO graphic card Step 1: Browse the Sony driver download page. Choose one method from the list of available options. Next, specify your laptop model and click continue. A list of drivers will appear on the screen. Step 2: Scroll down to the list of options titled videos. Click the + sign next to the video icon. Click and select the latest driver link to download it on your laptop. Step 3: Open the downloaded file and the installation process will begin automatically. Accept the licensed terms and finally the video card will get updated. After the update, you will experience the joy of HD videos quality feel. The latest Sony VAIO graphics card drivers are designed as per the compatibility required to browse high resolution 3D media. To get a solution to install PC Games, software and apps on a Sony VAIO laptop take help from the expert engineers. Dial the Sony technical support number and connect with a courteous agent near your area. For alternative numbers, visit the ContactForHelp web directory. 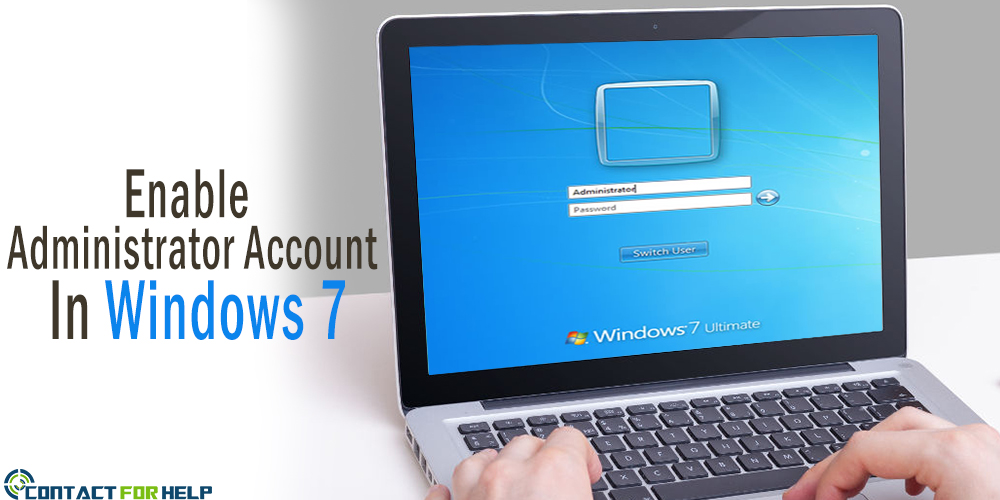 The Administrator account is a disabled inbuilt account with Windows 7. Every user can enable the account to unlock some amazing features such as installing harmful software, troubleshooting and special networking tasks. This account remains disabled to prevent malicious activities on the system. Additionally, these days the advanced apps need admin verification for optimized operation. This blog includes 3 easy methods to enable administrator account in Windows 7. These methods have been tested by the Windows 7 help and support team. You can follow them as per your convenience or dial helpline number for assistance.
Using Command Prompt Step 1: Search cmd.exe in the Start Menu Step 2:Run cmd.exe as admin Step 3:Enable Admin account type Step 4:Press ENTER to execute the command successfully Via Local Groups Step 1: Open the control panel to browse admin tools Step 2: Open Local users and choose USERS Step 3: Uncheck "Account Disabled" Step 4: Click OK and save settings Step 5: Enable the admin account Using Local Security Policy Step 1: Enter and run secpol.msc in start menu as admin Step 2: Search "Account Administrator Account Status" Step 3: Open "Account Administrator Account Status" and enable it You can even disable the admin account from here. Once the process completes, simply reboot your computer. Finally, the new admin account will appear with a default password. For maximum security, the above mentioned 3 methods have been tested by the experts.You can even create a guest account on your PC, so your trustworthy friends can use your PC in your absence. If you are unable to access the admin account, then dial the Windows 7 support phone number. The Microsoft certified technicians are ready to help you on all working days. For verified tech support phone numbers, visit Contactforhelp. The advanced web directory lists the direct helpline numbers of tech brands and products.  Since there is a frequent increase in the rate of cyber crime and other such malicious activities, protecting our devices and data has become a significant concern of the users. And, taking that into consideration, a lot of company has jumped in the market of antivirus to provide complete security from any such malware programs and threats. As plethora of options is available for Internet Security and Antivirus, it has become difficult for us to choose the best and the most reliable one for our systems. So, here we have come up with the list of best 3 antiviruses of 2016 along with their features. You can take a quick look.
Panda Antivirus Pro (2016) Assuring user to protect their system from all kinds of viruses, spyware, Trojans, and other malicious software, Panda Antivirus Pro is a complete security package for your system. Being completely compatible with Windows, Android and iOS, it is considered to be the best amongst all other antiviruses present in the market. Also, Panda Security Support also remains 24*7 available for their users to resolve their queries from anywhere and anytime. The Key features of it are: For Windows:
For Android:
AVG Protection Pro After Panda Antivirus, the next come AVG Protection Pro, an equally reliable antivirus that offers protection from all types of threats. The best part of using this antivirus is that there are least chances of slow downing of systems while you are using this product. Although, AVG security is available in different versions, the best and the most popular one is The Protection Pro. The Key Features are: -
Avira Antivirus Pro Claiming to protect our system from 4.4 million attacks every day, Avira Antivirus Pro Secure our identities, finances, and other private data with our multi-platform license. Also, since it works on both Windows and Ios, users can benefit maximum out of it. If you want to know the key features, here are some of the major one mentioned-below.
Now, after going through the features of all the top three Antiviruses, if you feel like using any one of them then make sure you have consulted experts on antivirus support number. They will guide with all the process of installation so that you don’t have face issues while using it frequently. You can avail this number from an online directory - Contactforhelp. This website is popular amongst entire USA and Canada for offering original numbers of customer services. 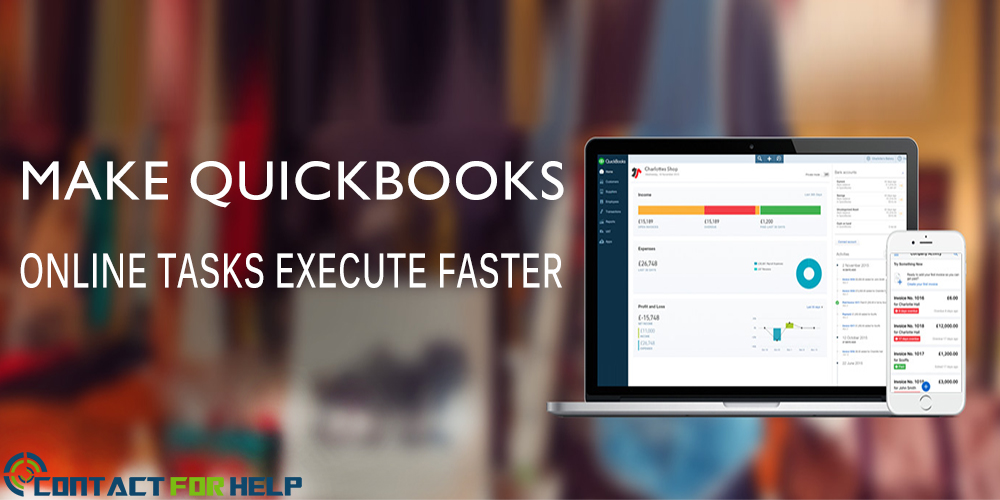 Quickbooks is effective in managing several accounting tasks, such as monitoring shipping, managing inventory, reminding pending bills, scheduling payments, and creating payrolls. It includes features to streamline the entire accounting system that moves with the cloud hosted version. Moreover, it hosts all business accounting needs which can turn slow and cause low productivity. For the users benefit, the Quickbooks support number remains 24hrs open to troubleshoot common errors. Read and follow the tips mentioned below to make Quickbooks online tasks faster.
Establish a fast Internet connection: Quickbooks user can manage the accounting operations from anywhere, anytime using any internet connected device. As the online process of data storage and information processing requires a reliable internet connection, do ensure you have a high speed internet connection. Select Quickbooks Hosting via SSD server: Quickbooks tests execute over the cloud based server. The server efficiency plays an important role to play. In comparison to other technologies, the Solid State Drive SSD based servers speed up to deliver the app usage over the cloud. Resource Planning As Per The User Ratio: Hosting resources include server specifications such as Ram and storage space. All the resources are responsible to construct the final bill hosting services. It applies that you need to pay more for the service usage. However, the Quickbooks will not function accurately if the multiple users try to access the Quickbooks features. Smart Add-ons Integration: Quickbooks add-ons integration executes the operations effectively. If you use the add-ons without basic knowledge then you can corrupt Quickbooks files. Always install add-ons after understanding the functionality. Local machine maintenance: Cloud services are not dependent on the local machines. Sometimes the errors may occur due to desktop, laptop or smartphone malfunction errors. Also, if you are running several apps, then the Quickbooks may freeze. Always inspect the devices on a regular basis to prevent any critical errors. For instant support, contact the Quickbooks online customer service and take help from the tech industries qualified live agents. Visit Contactforhelp to search alternative helpline numbers operating in the US, Canada and the UK. |
 RSS Feed
