 To remove Microsoft Outlook you do not need to delete the complete Microsoft Office software suite. Simply, select the Office features you wish to store on the computer using the uninstall or change a program option. Here are safe steps shared by Microsoft customer support to remove the Outlook folders. These steps have been tested by the live support agents, visit the Microsoft support web page for solutions to other problems.
Step 1: Press Windows icon or right click the logo. Select Control Panel from the Power User Menu option. Step 2: Hover the cursor to the program option and click the link "Uninstall a Program" listed under Programs icon. Step 3: Choose the Microsoft Office program from the list of options. Now, click CHANGE to see the Change Microsoft Office Window installation category.From here you can even Uninstall, if required. Step 4: Choose Add or Remove features and click Continue button to display Office components.Now, select Repair for Office to troubleshoot Office programs or select Remove to uninstall Office suite entirely from the PC. Step 5: Click the + icon next to Microsoft Outlook title. Choose, Not Available to remove Office suite or select Run From My Computer option to install Outlook features. Step 6: To configure Microsoft Office, click Continue. Avoid to restart your PC after you uninstall program. Open c:/Users/YourUsername/App Data/Local/Microsoft and c:/Users/YourUsername/App Data/Roaming/Microsoft folders.Microsoft Outlook includes MS Office bundles for Windows OS. Usually, Windows set Outlook as a strong program to use in email related work. Instead of deleting the Outlook program, you can also disable it. Select alternative option from the web browser to disable the Outlook preference. To follow the steps under the supervision of a skilled technician, dial Microsoft support phone number. The Microsoft customer care operates 24 hrs on all working days excluding public holidays in the US and UK. Visit ContactForHelp to search alternative technical support phone number. 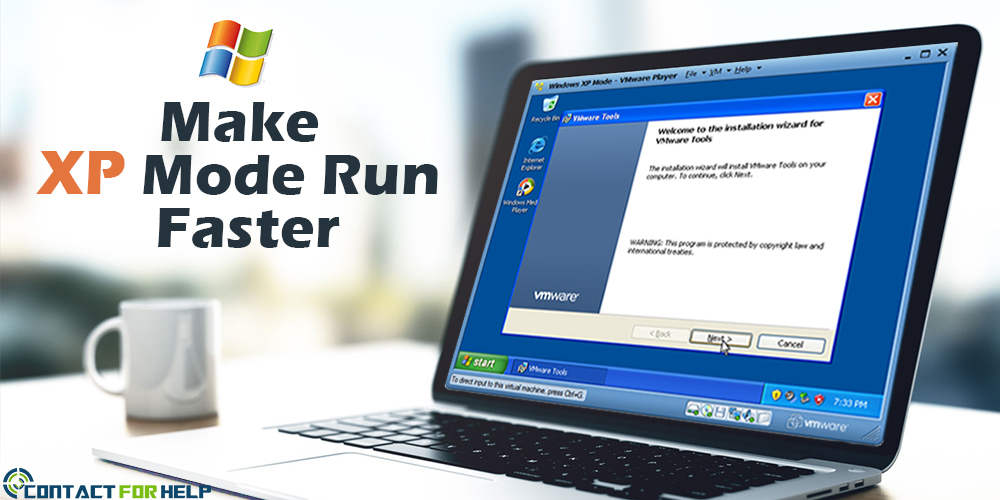 One of the most innovative versions of Windows, XP Mode, has been launched to help users in running their application smoothly; especially when they are not compatible with the older versions. With the feature of the virtual computer, XP mode ensures for its easy availability as one can download it without any hassle.
However, one thing that you need to take care while you want to take most benefit out of it that your system must provide processor virtualization. In cases, where your XP Mode is functioning slowly, it’s better to increase the RAM of your system. But, even after increasing the Random Access Memory, the XP mode is still running slowly then make sure that you have taken instant help Windows XP Customer care. As an alternate option, you can also give it a try to resolve the matter by following the steps that are exactly given below. In order to know the steps, make sure that you have gone through this blog keenly.
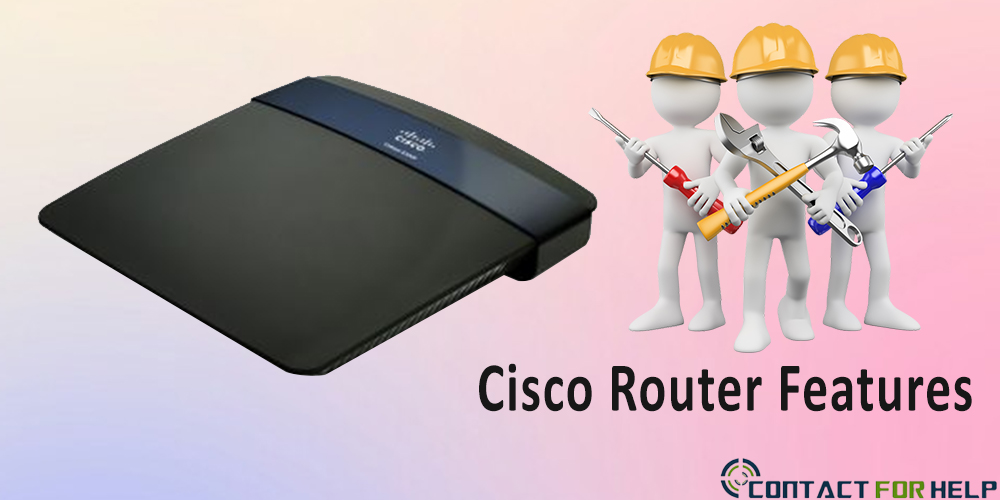 Cisco routers are popular for flawless operation, reliability, easy to understand options and advanced menu. The latest series of router includes advanced features that make Cisco the best router brand. Check out here, Cisco router’s 7 exclusive technical features. To get details about Cisco upgrades or quick solutions for any error, contact Cisco router support. The popular router brand remains active on all working days to assist the troubled users.
Features 1. Services Performance Engine: SPE is a modular motherboard on Cisco 3900 series ISR. The SPE has PVDM3 slots and the ISM slot. It provides a modular approach to system upgrades. Moreover, the SPE slides the router to replace modules or upgrades itself for optimum performance. 2. Cryptographic Engine Accelerator: Cisco routers have an on-board cryptographic accelerator that is shared between SSLVPN and IPSec. By default, acceleration of SSL gets disabled to improve the IPSec performance. 3. USB Console: Cisco 3900, 2900, 1900 series includes advanced ISR's that configure the system through the USB serial console port. 4. Power Management: The modules and interface cards inserted in new slots offer hardware and software power management features as: • Highly capacious AC power supplies • Electrical features as inbuilt power saving features like RAM and Clock gating. • Disables unused clocks to peripherals and modules. 5. Advanced capability Compact-flash: Cisco router models 3900, 2900, 1900 have ISR's that use advanced CF3 memory to store configuration files, system image, and software data files. 6. SFP/Gigabit Ethernet Port: Cisco 2921, 2951, 3900 series routers include Ethernet port, which supports fiber based connections. It configures redundancy in bad network. 7. New modules and interface cards: Cisco 3900, 2900, and 1900 ISR's launch new modules and interface cards. The new modules and cards are inserted in EHWIC, PVDM3, ISM and SM. All the models of Cisco routers are precisely designed and tested on all security parameters. However, sometimes the technical errors might occur. To avoid any critical error, or to seek assistance, dial the Cisco customer support number. The technical support department offers result oriented solutions via telephonic conversation. Search the independent Cisco support numbers in US, UK and Canada at ContactForHelp. Source: http://bit.ly/29lbk4m 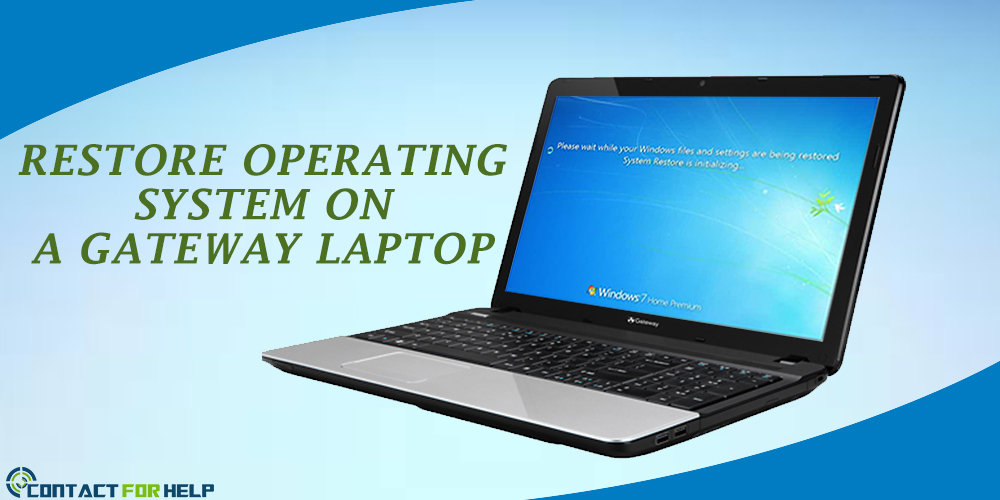 Gateway laptops include software and tools essential to restore OS using a hard drive. The options to create recovery discs appear when you use the Gateway laptop for the first time. As a valued owner of Gateway laptop, you must know the process to restore the operating system for preventing any critical problem. In addition, the system restoration is an effective option, if you wish to sell the laptop. The process to restore the operating system is easy with the help of inbuilt system tools.To ensure the users do not feel confused with the restore process, the Gateway laptop support operates on all working days for 24hrs. If have the knowledge of the OS, simply follow the steps briefed below:
Steps to restore the OS in Gateway laptops Step 1: Reboot the laptop Step 2: Press F11 key, as the option to start the restore process will appear on the screen Step 3: Again press F11, before Windows start-up Step 4: Choose "Non-destructive system restore" to recover the OS, all software and pre-installed drivers (This option stores data on the hard drive) Step 5: Select "Full System Restore" option to clean the hard disk and restore your OS Step 6: Choose "Full System Restore With Backup" option. It will save your hard disk to a backup folder and reinstall a new copy of the OS. (This option stores the data, but re-install the programs to restore the factory settings) Step 7: After choosing the desired option, click "Next". Now choose "Yes" as the "Format and Recover" dialog box will appear on the screen Step 8: As the "System Restore" dialog box opens, click "Restart". Finally, let the system reboot to successfully complete the installation process Gateway laptops use Windows System Restore Utility application. It protects the operating system against critical damages. But, to prevent unsuspected computer errors its important to restore the factory settings, as OS optimizes best with configured settings. In an event, where the OS malfunctions, dial the Gateway support phone number. It is the helpline dedicated to assist troubled Gateway laptop users. For alternative customer service numbers, visit top rated web directory “ContactForHelp”. 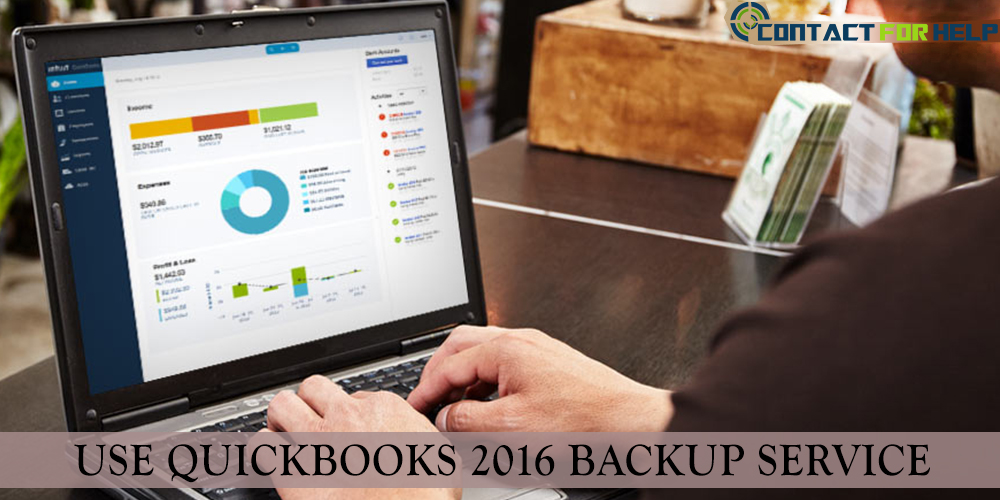 Quickbooks backup service is an advanced service in the latest 2016 version. You do not have to do anything, if you have done set-up in advance. However, if you really wish to do backup manually, then launch the Quickbooks s backup service software. Before you use the backup service, do sign-up for it. For successful backup, you need an active internet connection. To create a backup under maximum security parameters, dial Quickbooks support number. A qualified technician will guide you with the secured backup process.
Steps to sign-up for Quickbooks Backup service: Step 1: Open the File Menu, select "Back Up" and inspect that the actual company back up file is selected. Step 2: Choose "Online", click "Tell Me More". Now the "Quickbooks Backup Service Overview" will open. Step 3: Tap "Get Started Now" and the Quickbooks backup service website opens. Step 4: From the service level options, click Download Now and choose the option to backup file.
Step 5: When prompted open the installation file. Step 6: Click Open/Install and the installation process will begin. Step 7: Follow the on-screen instructions, start the backup process once you have signed-in. As the backup completes, you will receive an analysis report of the backup and related errors. For optimum performance, Quickbooks displays the next scheduled backup. Just click the Quickbooks Backup Service option whenever you wish to create a backup. If any problem occurs while creating a backup, then consult Quickbooks online customer service agents. The technical support team operates 24hrs for assisting troubled users. Visit ContactForHelp for finding the alternative helpline number for Quickbooks support in the Canada and USA. |
 RSS Feed
